Galleries Help Guide
List, add and edit galleries.
List
- Once logged in to your website go to Content Management > Galleries
- From here you can add, edit and view the galleries on your website
Add
- In the list view of galleries click Add New from the top row of buttons
- See below for instructions on gallery properties
- Once you've completed adding your information click Submit
Edit
- To edit an existing gallery hover over Actions on the right hand side of the item and click Edit
- See below for instructions on the gallery properties
- Once you've made your changes click Submit to save
- If you wish to not save the post, click the List View icon at the top right hand side of the editting page (Note: you will NOT be able to get your canges back once you've left the page without submitting)
Properties
 Fill in the Title of the gallery
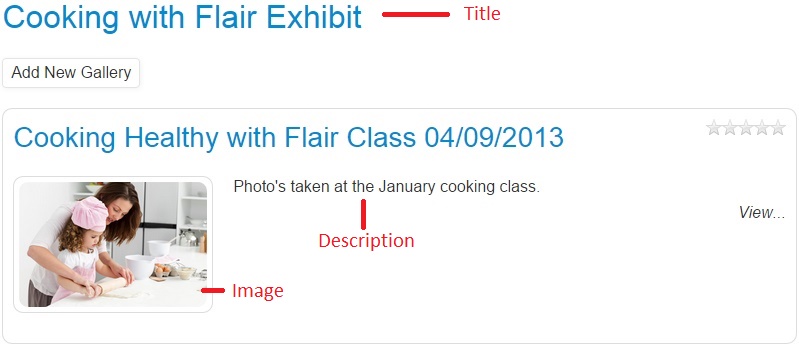
- For Blog Posts, Galleries and Testimonials the title does show on the list pages and the separate post pages (see image on right)
- Fill in a Description that best describes the blog post you are creating, including keywords and keyphrases for search engine optimisation
- The description will show in list pages and separate post pages (see image on right)
- Fill in Keywords with keywords or keyphrases associated with the gallery, breaking them apart with commas (Note: optional as this is not very important for search engines these days - try to use your keywords in the title, description and throughout your content, especially in headings and bolded text)
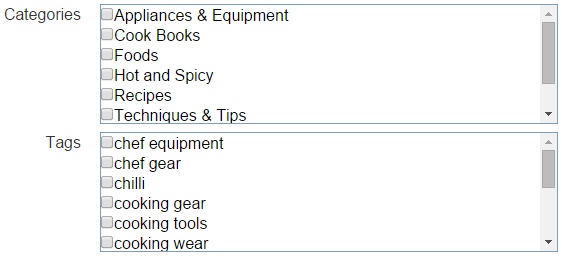
- If you have Categories and Tags set up you will see checkboxes underneath Keywords (see image on right)
- Categorise and tag the post by ticking the intended categories and/or tags
 Visit the Categories and Tags Help Guide if you don't know how to add them for selection
- The Representative Image property allows you to upload an image to the server which can be used to display next to the gallery post in list view (see image on right) and will display in the group of images in the main post view
- Select Browse or Choose File and select an image from your computer and click Open
- You can allow people to comment and rate the gallery by choosing "All" from the drop down of Allow Comments By and Allow Ratings By
- Change the Author by selecting the drop down and choosing a user from the system
- The Author will automatically be set to the user that you are signed in as when first creating the gallery
Adding Images
- In the list view of galleries you will see under the Images property the number of attachments for each gallery
- Click the link (e.g. 1 Attachment), this will take you to the list of attachments for that gallery
- Click Upload Image
- Click Browse / Choose File, pick an image from your computer and click OK
- If it's a large image tick Resize For Web (Note: it is recommended to resize your image in paint yourslef prior to uploading)
- Click Submit
